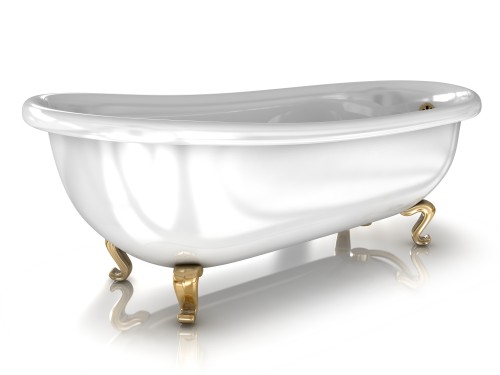
Adding a shower to a freestanding tub may sound like a heck of a lot of work, but with the right type of faucet fixture, you can easily tackle this project on a minimal budget and without much fuss. To get started, you’ll need to purchase a freestanding shower and faucet combination, available for purchase through hardware stores, home improvement centers and housewares supply businesses. These fixtures include a pipe that runs up to a freestanding showerhead which is anchored to the wall during installation in order to stabilize the pipe. This setup is commonly used for clawfoot tubs, but can be used for most freestanding tubs.
Materials Needed
- Faucet and shower combination
- Wrench
- Plumber’s putty
- Teflon tape
- Permanent marker
- Tube cutter
- Stud finder
- Drill
Installation Process
- Turn off the water to the tub. If the cold and hot water have separate shutoff valves, be sure to turn off both.
- Use a wrench to disconnect the hot and cold water supply lines from the back of the tub.
- Open the current faucet on the tub to drain the remaining water in the faucet, then use a wrench to disconnect and remove the faucet.
- Do a dry fit of the new faucet to the tub to ensure that it will connect to the threaded openings in the tub.
- Wrap plumber’s putty around the threaded fittings on the back of the faucet handles.
- Assemble the fixture on the tub and attach the hot and cold water supply lines to the back of the tub.
- Use a wrench to tighten the locknuts on the fixture where it connects to the tub. In the places where the plumber’s putty squeezes out of the threaded connections, wipe away the excess putty.
- Attach the shower fixture to the faucet, which will probably have come in separate pieces. Wrap teflon tape around all threaded connections.
- Hold the showerhead support bar up to the wall nearest to the showerhead assembly. If the support is too long, mark the spot on the support pipe that indicates the proper length.
- Cut the support tube with a tube cutter.
- Attach the flange for the support bar to the wall. Use a stud finder to determine whether or not the flange will be screwed into a stud. If it is, screws will hold the bracket in place. If there’s no stud in the wall, use anchors to hold the screws into the wall. It’s best to have a drill for this part, with drill bits of varying types and sizes.
- Turn on the hot and cold water and test the faucet and shower. Avoid turning the water on full blast, because the shower curtain ring is not yet assembled and water may get everywhere on the floor around the tub. Check the connections for leaks and tighten as necessary.
- Assemble the shower curtain ring, then hold up the ring where it will be positioned on the shower attachment. Identify the location where the shower curtain ring bracket will attach to the opposite wall from the showerhead.
- Attach the support brackets to the walls around the tub. When attaching these support bars, you may need to use a similar procedure as you adopted in step 11.
- Install the shower curtain ring along the shower riser, attaching it at the appropriate places to the shower brackets.
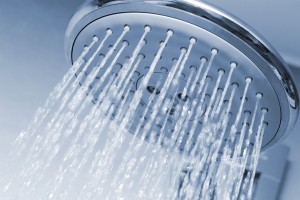
Voila! Your freestanding tub now has a showerhead. For more help, check out this informative video.
This project is something that many confident DIYers can take on for themselves, although some people might be more comfortable hiring a professional plumber to handle this installation. If you live in the Pittsburgh area and want a plumber that you can trust to install your shower and tub faucet combo, contact Terry’s Plumbing. We’ll be happy to install your new showerhead and help with other plumbing projects around the home as well.
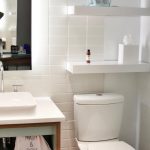 How to Keep Your White Bathroom White
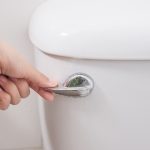 How to Find the Model Number of Your Toilet
 Plumbing News Roundup: March 2024

