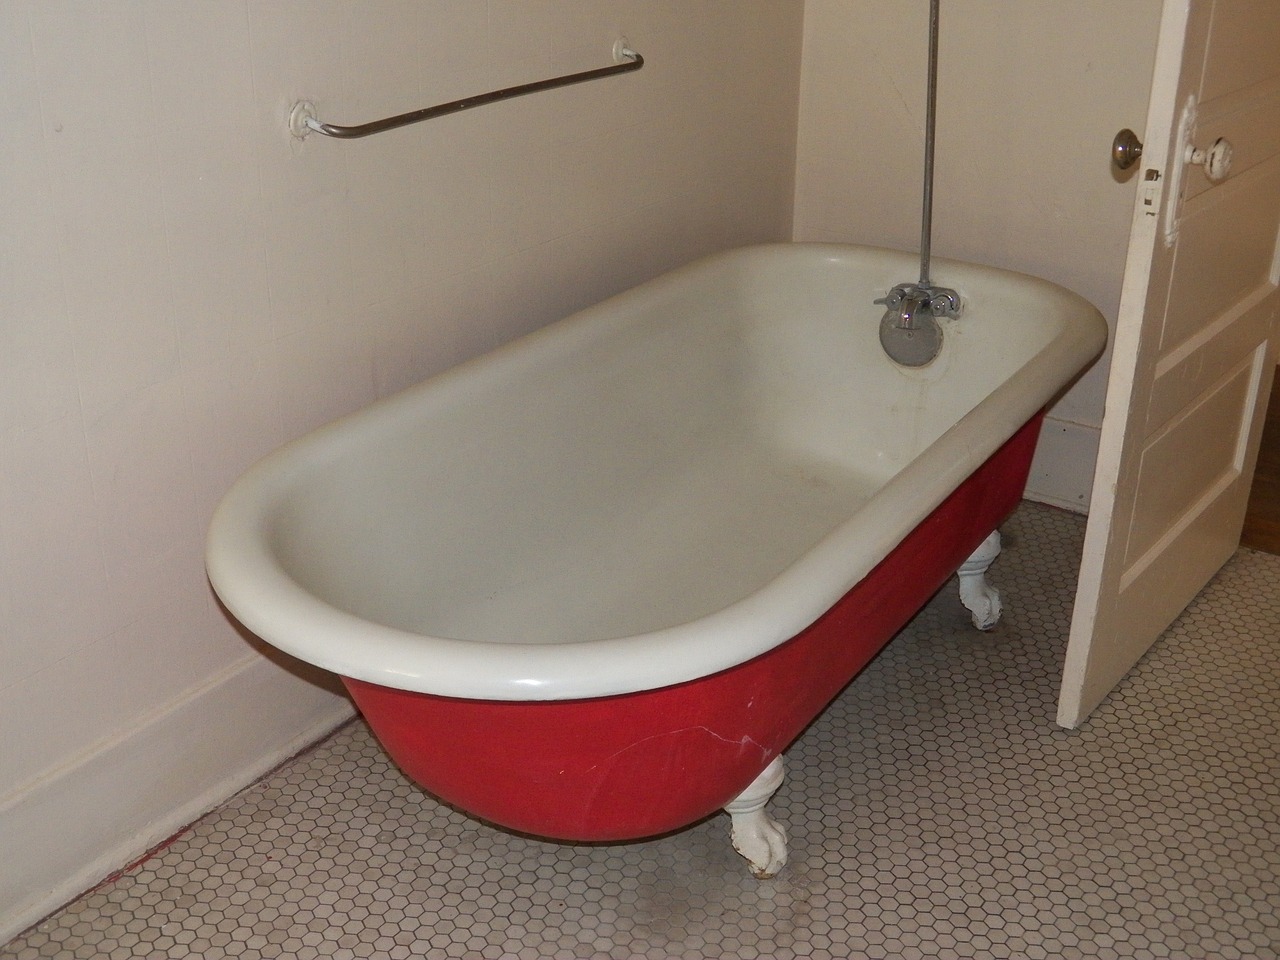
When a cast iron and porcelain tub gets old, one of the things that happens is the glaze on top gets worn away and the porous surface beneath is exposed. This can lead to staining and rusting.
Bathtub refinishing is big business. Homeowners with older homes and vintage cast-iron tubs can pay thousands of dollars to replace old tubs, or hundreds of dollars for refinishing. Of course, a competent and confident DIYer can save a lot of money doing it themselves. These tips will help you get started.
All you have to do is poke around on the Internet a bit and you’ll find out that there’s more than one way to refinish a bath tub. Professional refinishers often assemble all their own materials and use their own methods, but as a DIYer, your best bet is to pick up a bathtub refinishing kit from a hardware store or home improvement center.
Many bathtub refinishing kits come with the majority of the tools you need, including materials for sanding, cleaning solutions, repair/hardening mixture and paint. Before you begin work, open up your kit and read all the instructions to ensure that all the materials you need are on hand. Other tools you might need include:
Even if the details vary from one contractor to another, the process is more or less the same overall.
Ta-da! Your new tub should look and feel great. Properly refinished tubs can last up to 20 years, depending on your cleaning and maintenance methods. To prevent the porcelain from wearing away again, avoid using abrasive cleaning products and don’t lay anything permanently on top of the porcelain (like a rubber bath mat).
For more information, check out this online video:
Or take a look at this very thorough tutorial.
Good luck with this process. If you have experience with this process and have some suggestions to offer, leave your comments at the bottom of this blog! We’d love to hear from you.
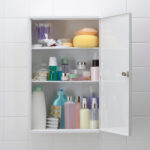 Choosing a Medicine Cabinet for Your Bathroom
 The Advantages of an Open Plan Bathroom
 How to Keep Your White Bathroom White

