Dampness around the base of your toilet means it might be time to replace the flange. Luckily, this common plumbing repair is easy for handy homeowners to fix. Here is a step by step guide on how to do it.
What is a Toilet Flange
The toilet flange is the part of the toilet that secures it to the floor and connects it to the drainpipe. The most common type of material that flanges are made from is PVC. However, some brands make them out of copper, cast iron, aluminum, brass and stainless steel. This piece of hardware is secured in place with a few screws and bolts, and comes in various shapes and sizes. If your flange is loose or worn out, it can leak causing the surrounding flooring to be damaged over time.
Materials & Tools
Materials Needed for the Project:
- The correct size bolts/screws for attaching the flange
- A flange in the correct size/shape for your toilet/plumbing
- A wax ring (sometimes these already come in a kit with the flange you selected)
Tools Needed:
- An adjustable wrench
- A screwdriver (a Philips head or flat head depending on your screws)
- An electric drill
- A sturdy metal paint scraper
Recommended Extras:
- Some old rags (to plug the exposed pipe and wipe down the toilet base)
- Scrap newspaper (to lay down to protect the flooring)
- A bucket (to catch any excess water or to put damp rags in)
- Gloves and a mask (to protect yourself from fumes and debris)
Step by Step Instructions
- Locate the water supply knob on the wall behind the toilet and shut the supply off.
- Drain your toilet by flushing it a couple of times.
- Disconnect the water supply hose from the toilet. Keep a bucket nearby to catch any extra water that may drain from it.
- Pry off the bolt caps at the base of your toilet using a screwdriver. Once they are removed use a wrench to remove the nuts from the floor bolts and set them aside for later.
- Stand with the toilet in between your legs, with your knees resting on the bowl. Gently rock the toilet side to side to break the wax ring seal.
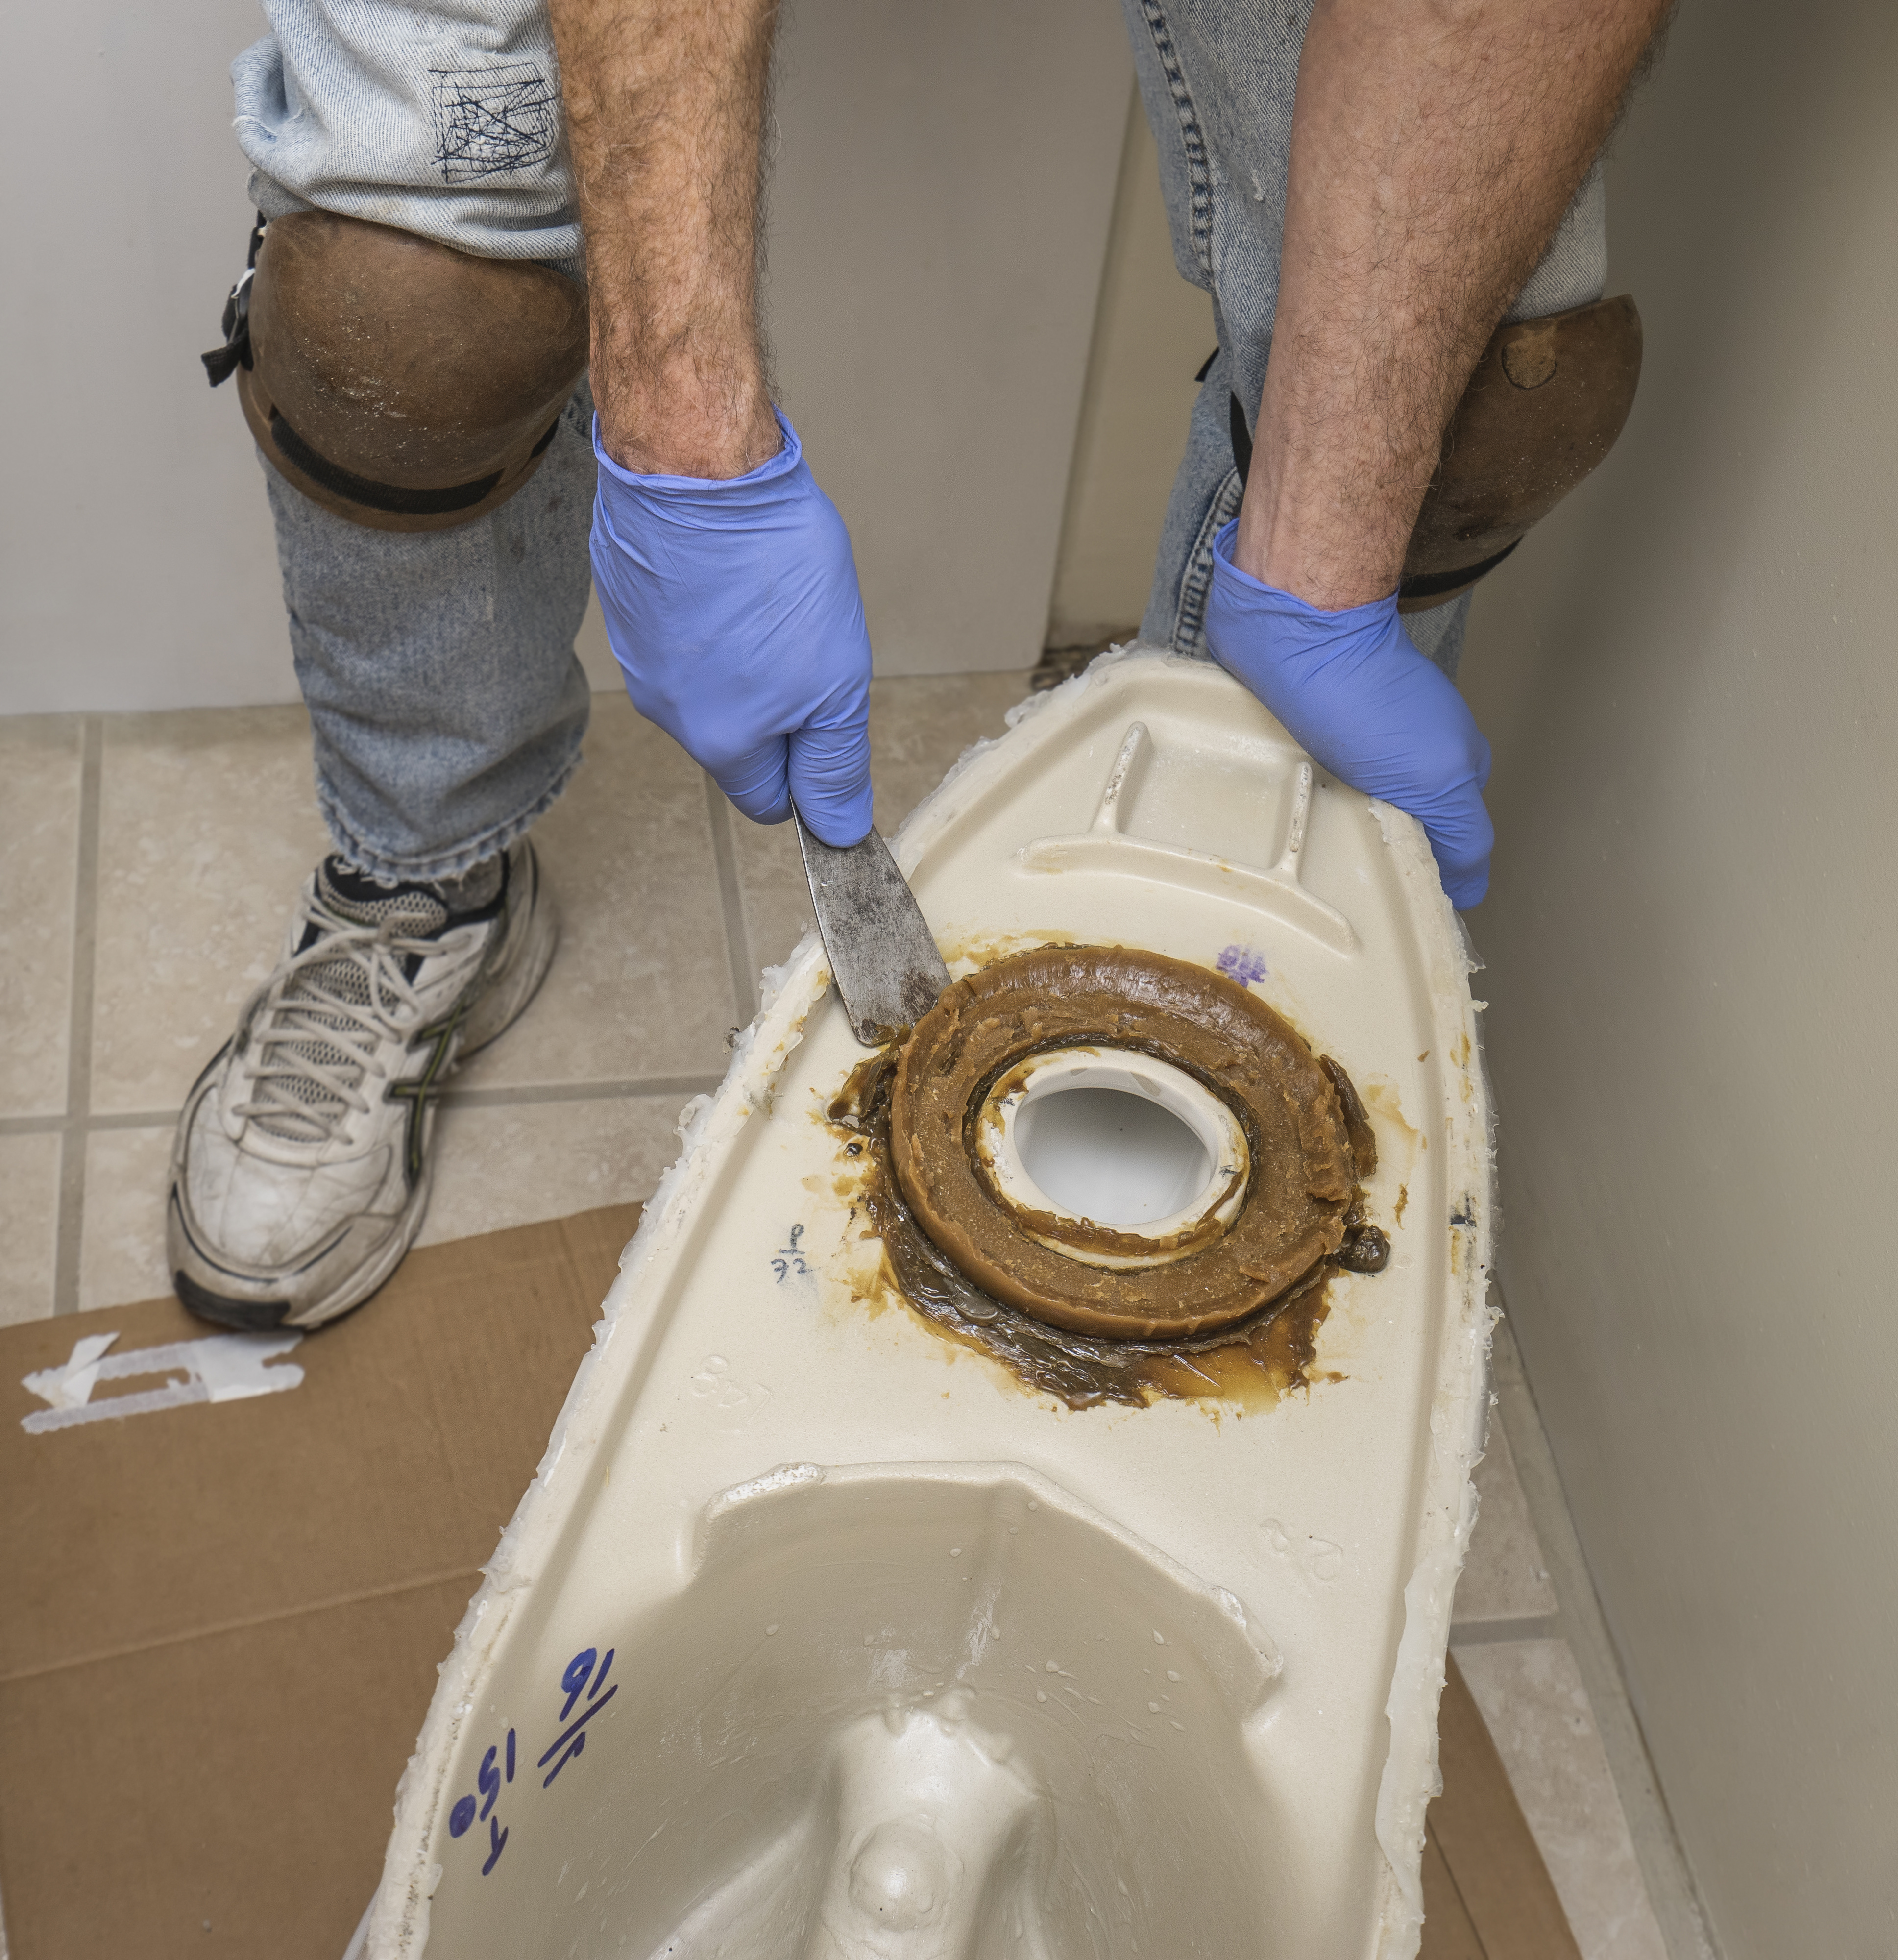
- Lift the toilet and lay it on its side on side, then plug the exposed drainpipe on the floor with old rags.
- Using the metal paint scraper or putty knife scrape away the wax ring from the bottom of the toilet and wax remnants from the exposed pipe.
- From there remove the mounting bolts and screws from the flange and lift the flange off the pipe. If the screws are in good condition set them aside for later.
- Set the new flange over the exposed drainpipe and secure it in place using the provided screws. If some were not provided use the ones from the old flange if compatible.
- Slide the mounting bolts back into the toilet flange and secure them with washers and nuts.
- Next, install a new wax ring that fits your flange. You have two options when it comes to installing the wax ring:
- Option 1: Attach the wax ring to the bottom of the toilet when the toilet is still on its side. This ensures the ring is in the proper position when placing the toilet back on the flange.
- Option 2: Center the wax ring over the flange before lowering the toilet back into place.
- Place the toilet atop the new flange after installing the wax ring. Be sure to align the bolt holes in the base of the toilet with the flange bolts.
- After lining everything up, apply pressure to create a new wax ring seal. After doing this be careful not to move or tilt the toilet any further, as this could cause the new seal to break and cause leaks.
- Secure the toilet to the floor once more by using washers and nuts then replace the bolt caps.
- Reattach the water supply line and test the toilet for leaks by SLOWLY turning on the water shutoff valve.
- Once the toilet tank is full, flush the toilet like normal and examine the base for leaks.
Call Super Terry
Did you start a DIY only to get halfway through and realize you need a professional? Give us a call and we can finish what you started!
 How to Keep Your White Bathroom White
 How to Find the Model Number of Your Toilet
 Plumbing News Roundup: March 2024

