
Often times the focal point of a full bathroom is the tub – which is expected to be pristine and gleaming. If yours is chipped, scratched, or sporting an old-fashioned color there’s a simple solution. Spare yourself the bother and expense of ripping it out and replacing it by painting it.
You Can Paint a Tub?
Refreshing your ceramic, porcelain, or fiberglass tub has never been easier. Using a specialty kit found at the hardware store for tubs and tiles, you can achieve a beautiful high-gloss finish for about $25. Unlike your standard interior paint options, which crack and peel when exposed to heat and moisture, epoxy boasts long lasting durability once cured. A one-quart kit should be enough to cover the standard bathtub but picking up two quarts is recommended for final touch ups.
Tools and Materials
Tools:
- Sponge
- 400-grit wet/dry sandpaper
- 600-grit wet/dry sandpaper
- Painters tape
- Painting utensils (i.e. bucket, stirs, bushes & rollers)
- Caulking gun
Materials:
- Bleach
- Abrasive cleaner
- Acetone
- Epoxy putty
- Tub repair product
- Tub epoxy refinishing kit
- Bathroom caulk
Painting your Tub
With the following steps, a bit of patience, and care, you’ll get a porcelain-like finish that will last three to five years.
- Remove old caulking and the tub’s hardware: Using a spackling knife, remove the old caulking. Then, carefully remove the drain hardware and any other fixtures.
- Ventilate the bathroom and clean the tub: First, it’s recommended you open the windows and run the bathroom exhaust fan before beginning to clean. Next, wash the bathtub with a 10 percent bleach and water solution followed by an abrasive bathroom cleaner (i.e. Comet or Soft Scrub). Once clean rinse thoroughly and wipe with a solvent such as acetone or paint thinner to remove remaining residue.
- Repair any imperfections: Be sure to fill any scratches, chips or gouges with epoxy putty or a tub repair product for a like-new surface. Let it dry completely and then sand the areas smooth.
- Prepare the tub: Next, sand the entire bathtub using wet/dry sandpaper. Do one pass with 400-grit and a second with the finer 600-grit. Doing so will ensure that paint easily adheres to the tubs surface.
- Prepare the surrounding areas: Use painter’s tape to protect the surrounding tile and any fixtures that you couldn’t remove previously in Step 1.
- Mix your epoxy: Many refinishing kits use a two-part epoxy paint that you’ll need to combine before application. If so, pour each part into one bucket to mix thoroughly for at least two minutes. This step is crucial, take your time to mix the epoxy properly for the best and long-lasting results. Once mixed, transfer half of the epoxy paint mixture into a secondary container to save for the second coat and cover it tightly.
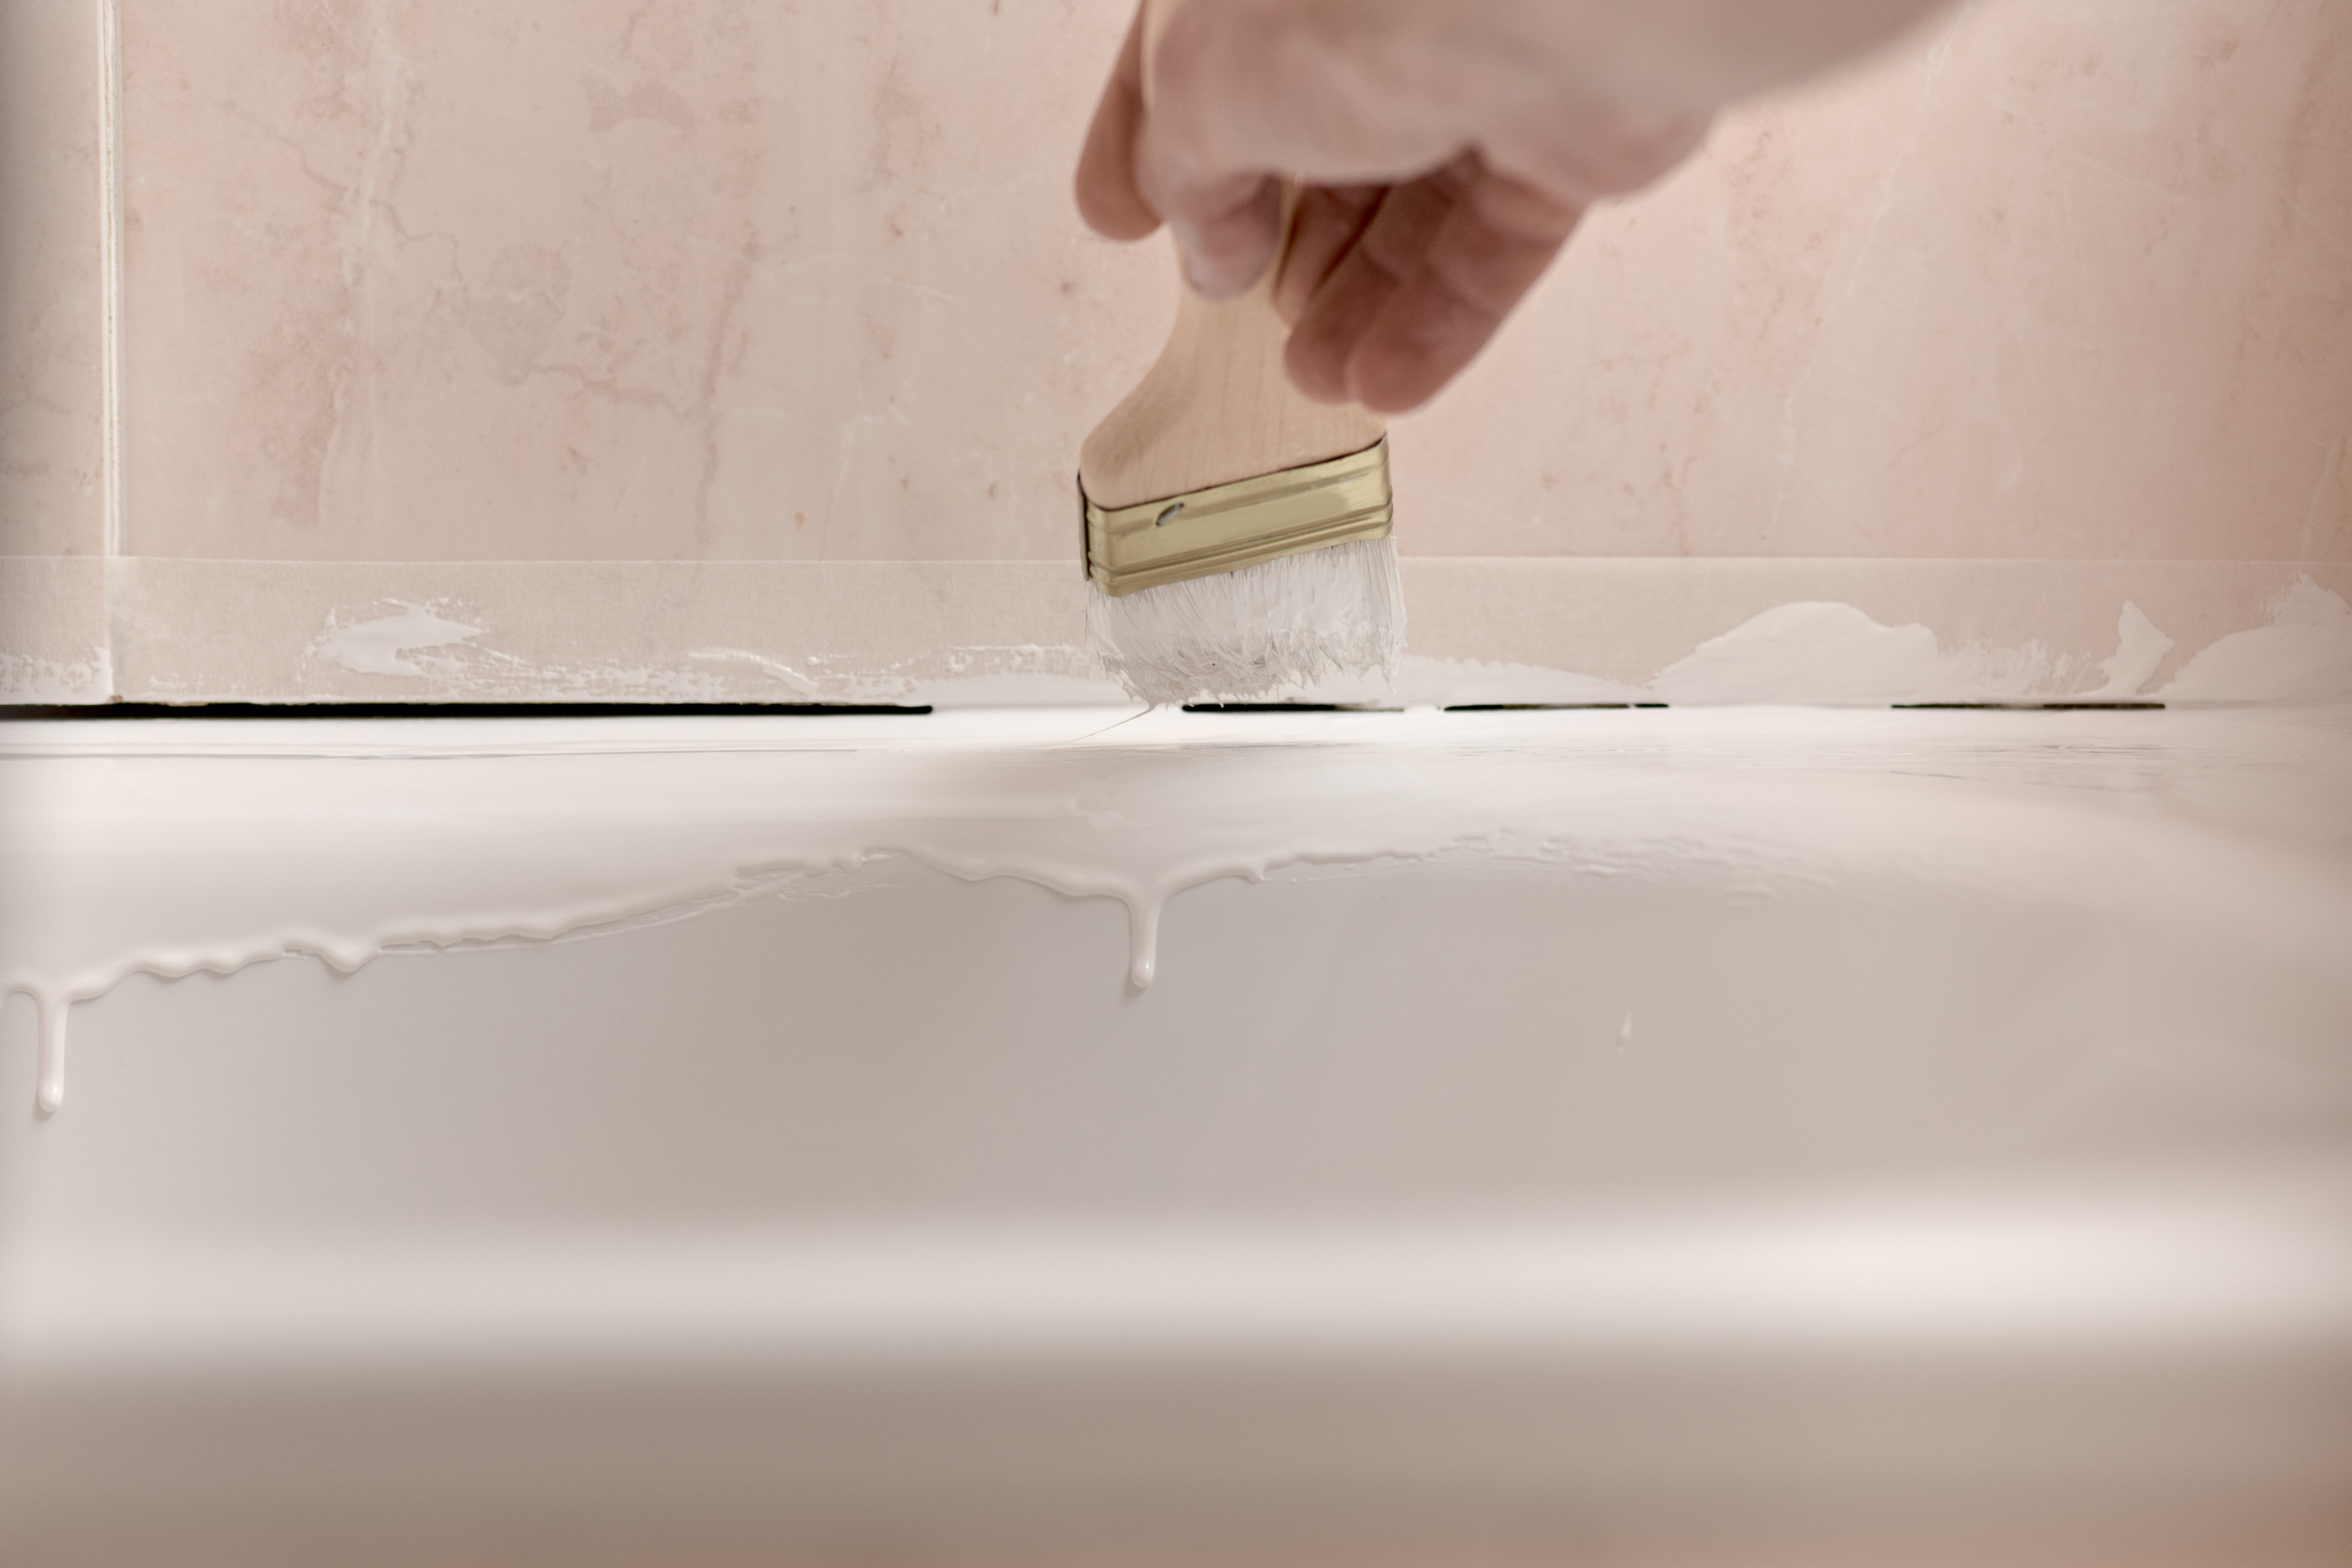
- Paint the tub: Start from the top corner and work your way across and down to the other side. Apply the paint in thin, even coats and be sure to smooth out any drips as you go along. Allow the first coat to dry according to the manufacturer’s instructions, then apply the second coat in the same way you did the first.
- Wait at least three days before using your tub: Epoxy takes time to fully cure, so follow the manufacturer’s instructions on drying time. Even if the tub feels dry to the touch – which might be as soon as an hour – refrain from using it. Once cured, remove the painter’s tape, re-caulk the tub, and re-install the fixtures and drain hardware.
Get Super Terry!
This project is something that many confident DIYers can take on for themselves, although some might be more comfortable hiring a professional to handle projects such as these. If you live in the Pittsburgh area and want a plumber that you can trust, contact Terry’s Plumbing. We’ll be happy to help with plumbing projects around your home.
 What is Pipe Descaling and Why is it Important?
 Can’t Find Your Septic Tank? Here’s Your Complete Guide to Locating It
 How to Clear a Stubborn Garage Floor Drain Clog

