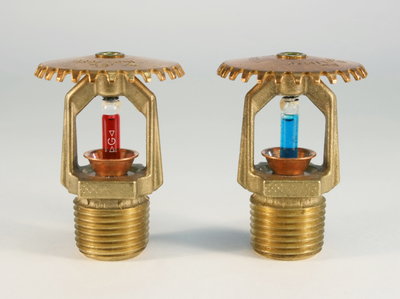
Leaking sprinkler heads wastewater and create problems for plant life in your yard. Now that spring is approaching, it’s time to start thinking about fixing your broken sprinkler heads. This kind of maintenance is good for your yard and your utility bill. If you’d like to repair the leak from your sprinkler this spring, this tutorial will help.
Before you get started, it’s important to understand that there’s more than one problem that could cause your sprinkler head to develop a leak. You may need to try multiple methods to fix your sprinkler head before meeting with success.
Clean the Sprinkler Head
Sometimes it’s a bit of debris or dirt that gets caught in the sprinkler head that causes it to develop a continuous leak. Cleaning out the sprinkler head is relatively easy. Follow these steps:
Turn off the main water valve that controls the sprinkler system. The valve will likely be located near the house.
Lift the portion of the sprinkler head that controls the spray head. This part of the sprinkler is called the “riser.”
Turn the sprinkler head counterclockwise to lift the sprinkler head out of the riser.
Pull everything inside the sprinkler apart, including the spring, filter and nozzle.
Run the various parts of the sprinkler under a stream of water to remove any debris.
Set the sprinkler control center to activate the zone of the sprinkler with the disassembled sprinkler head.
Turn on the water to clear any debris from inside the pipes and the nozzle.
If the pipe appears to be clogged, stick a paperclip inside the narrow opening inside the nozzle. This will help clear debris inside the nozzle.
Clean the Valves
The valves for your sprinkler system are buried in a centralized location in the yard. There will be one valve for each pipe and one solenoid for each valve. To clean out the valves, follow this procedure:
Cut the water and power to the sprinkler system.
Open the cover that provides access to the various valves for your sprinkler.
Use a clean, damp rag to clean out the area with the valves and the solenoids.
Twist open the solenoid. This is the black cylinder with wires attached to it, located on top of the valve cover.
Twist open the valve cover. Do this gently so that the spring inside the valve isn’t dislodged.
Take apart everything inside the valve.
Run everything inside the valve under a cold stream of water. This will clean off the parts.
Reassemble everything inside the valve. Note: if you’re not sure which solenoid and valve corresponds to which pipe, you may have to clean out all the valves you see. As you’re cleaning off the parts inside the valves, look for signs of damage. It may be that some parts inside the valve need to be replaced.
Turn back on the main water and the control center for the sprinkler system.
If you’d like to see how this process works, take a look at this video online:
Contact Terry’s Plumbing for Clog Repairs
If the pipes for your sprinkler system become clogged, contact Terry’s Plumbing. We’ll be happy to come out to your home, diagnose your plumbing problem and make repairs as necessary.

 What is Pipe Descaling and Why is it Important?
 Can’t Find Your Septic Tank? Here’s Your Complete Guide to Locating It
 How to Clear a Stubborn Garage Floor Drain Clog

