

Pro TIps
Repair Water Leaking Behind Your Shower Tile
Grout is a relatively imperfect product which can deteriorate over time. In a shower surround, grout that crumbles can allow water to seep into the drywall behind the tile. This kind of leak can cause hundreds of dollars of damage in a relatively short period of time. Knowing what to do to solve the problem can save you money on a contractor or plumber. In this post, we’ll discuss the best way to fix a leak and repair the damage.
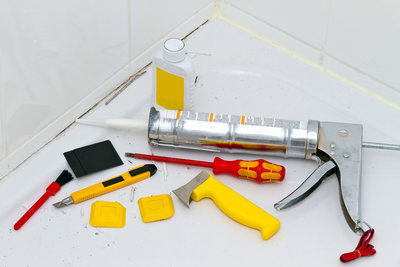
Materials
- Crowbar
- Drywall Saw
- Grout saw
- Sand paper
- Tongs
- Utility knife
- Cement backerboard
- Hammer
- Roofing nails
- Mastic
- Notched trowel
- Bucket
- Grout
- Rubber trowel
- Sponge
Process 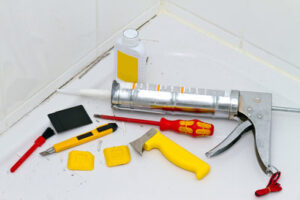
- Remove the tiles from the wall. In the soggiest parts of the wall, the tile may pull off easily by hand. If not, use a crowbar to pry off the tiles. Don’t pry off the tiles from their corners, as this is the weakest part of the tile. Pry off the tiles from the side.
- Cut away the drywall until you reach drywall that isn’t rotten. Leave a visible edge of drywall behind the tile, but use a drywall saw to cut it straight.
- Remove any caulk from the bathtub. Scrape away the caulk on the bathtub until the porcelain or plastic on the bathtub is bare.
- Scrape away the grout on the remaining drywall. Use a grout saw to scrape the grout off of the remaining drywall.
- Soak the old tiles in boiling hot water. This will help remove the old mastic and drywall still stuck to the tiles. Have tongs on hand for handling the hot tiles.
- Sand down the grout on the old tiles. Use sandpaper or a grout saw to scrape away the grout on the old tiles.
- Measure and cut cement backerboard (not drywall) to fit in the hole where drywall used to be. Drywall is a poor product to use behind a shower surround because it rots very easily. Cement backerboard is much more durable and less vulnerable to water damage. To cut the cement backerboard, score the backerboard with a utility knife then break it with your hands.
- Put the backerboard in place. Leave a gap of about an eighth of an inch between the cement backerboard and the drywall. Nail the backerboard to the wall studs with roofing nails.
- Spread mastic over the backerboard. Use a notched trowel to spread the mastic on the backerboard.
- Put the tiles in place on the mastic. Use joints to keep the space between the tile even.
- Spread grout between the tiles. Use a rubber trowel to spread the grout over the tiles. Wipe excess grout off with the trowel and leave the grout to dry.
- Wipe off the grout from the tiles with a sponge. Do this when the grout is dry and hard, a few hours after application.
Contact Terry’s Plumbing
Good luck! For some pictures and more information about this process, take a look at this page online. At Terry’s Plumbing, we have what you need for help with your DIY projects! Call us today to inquire about the tools we stock for tiling and grouting a shower.