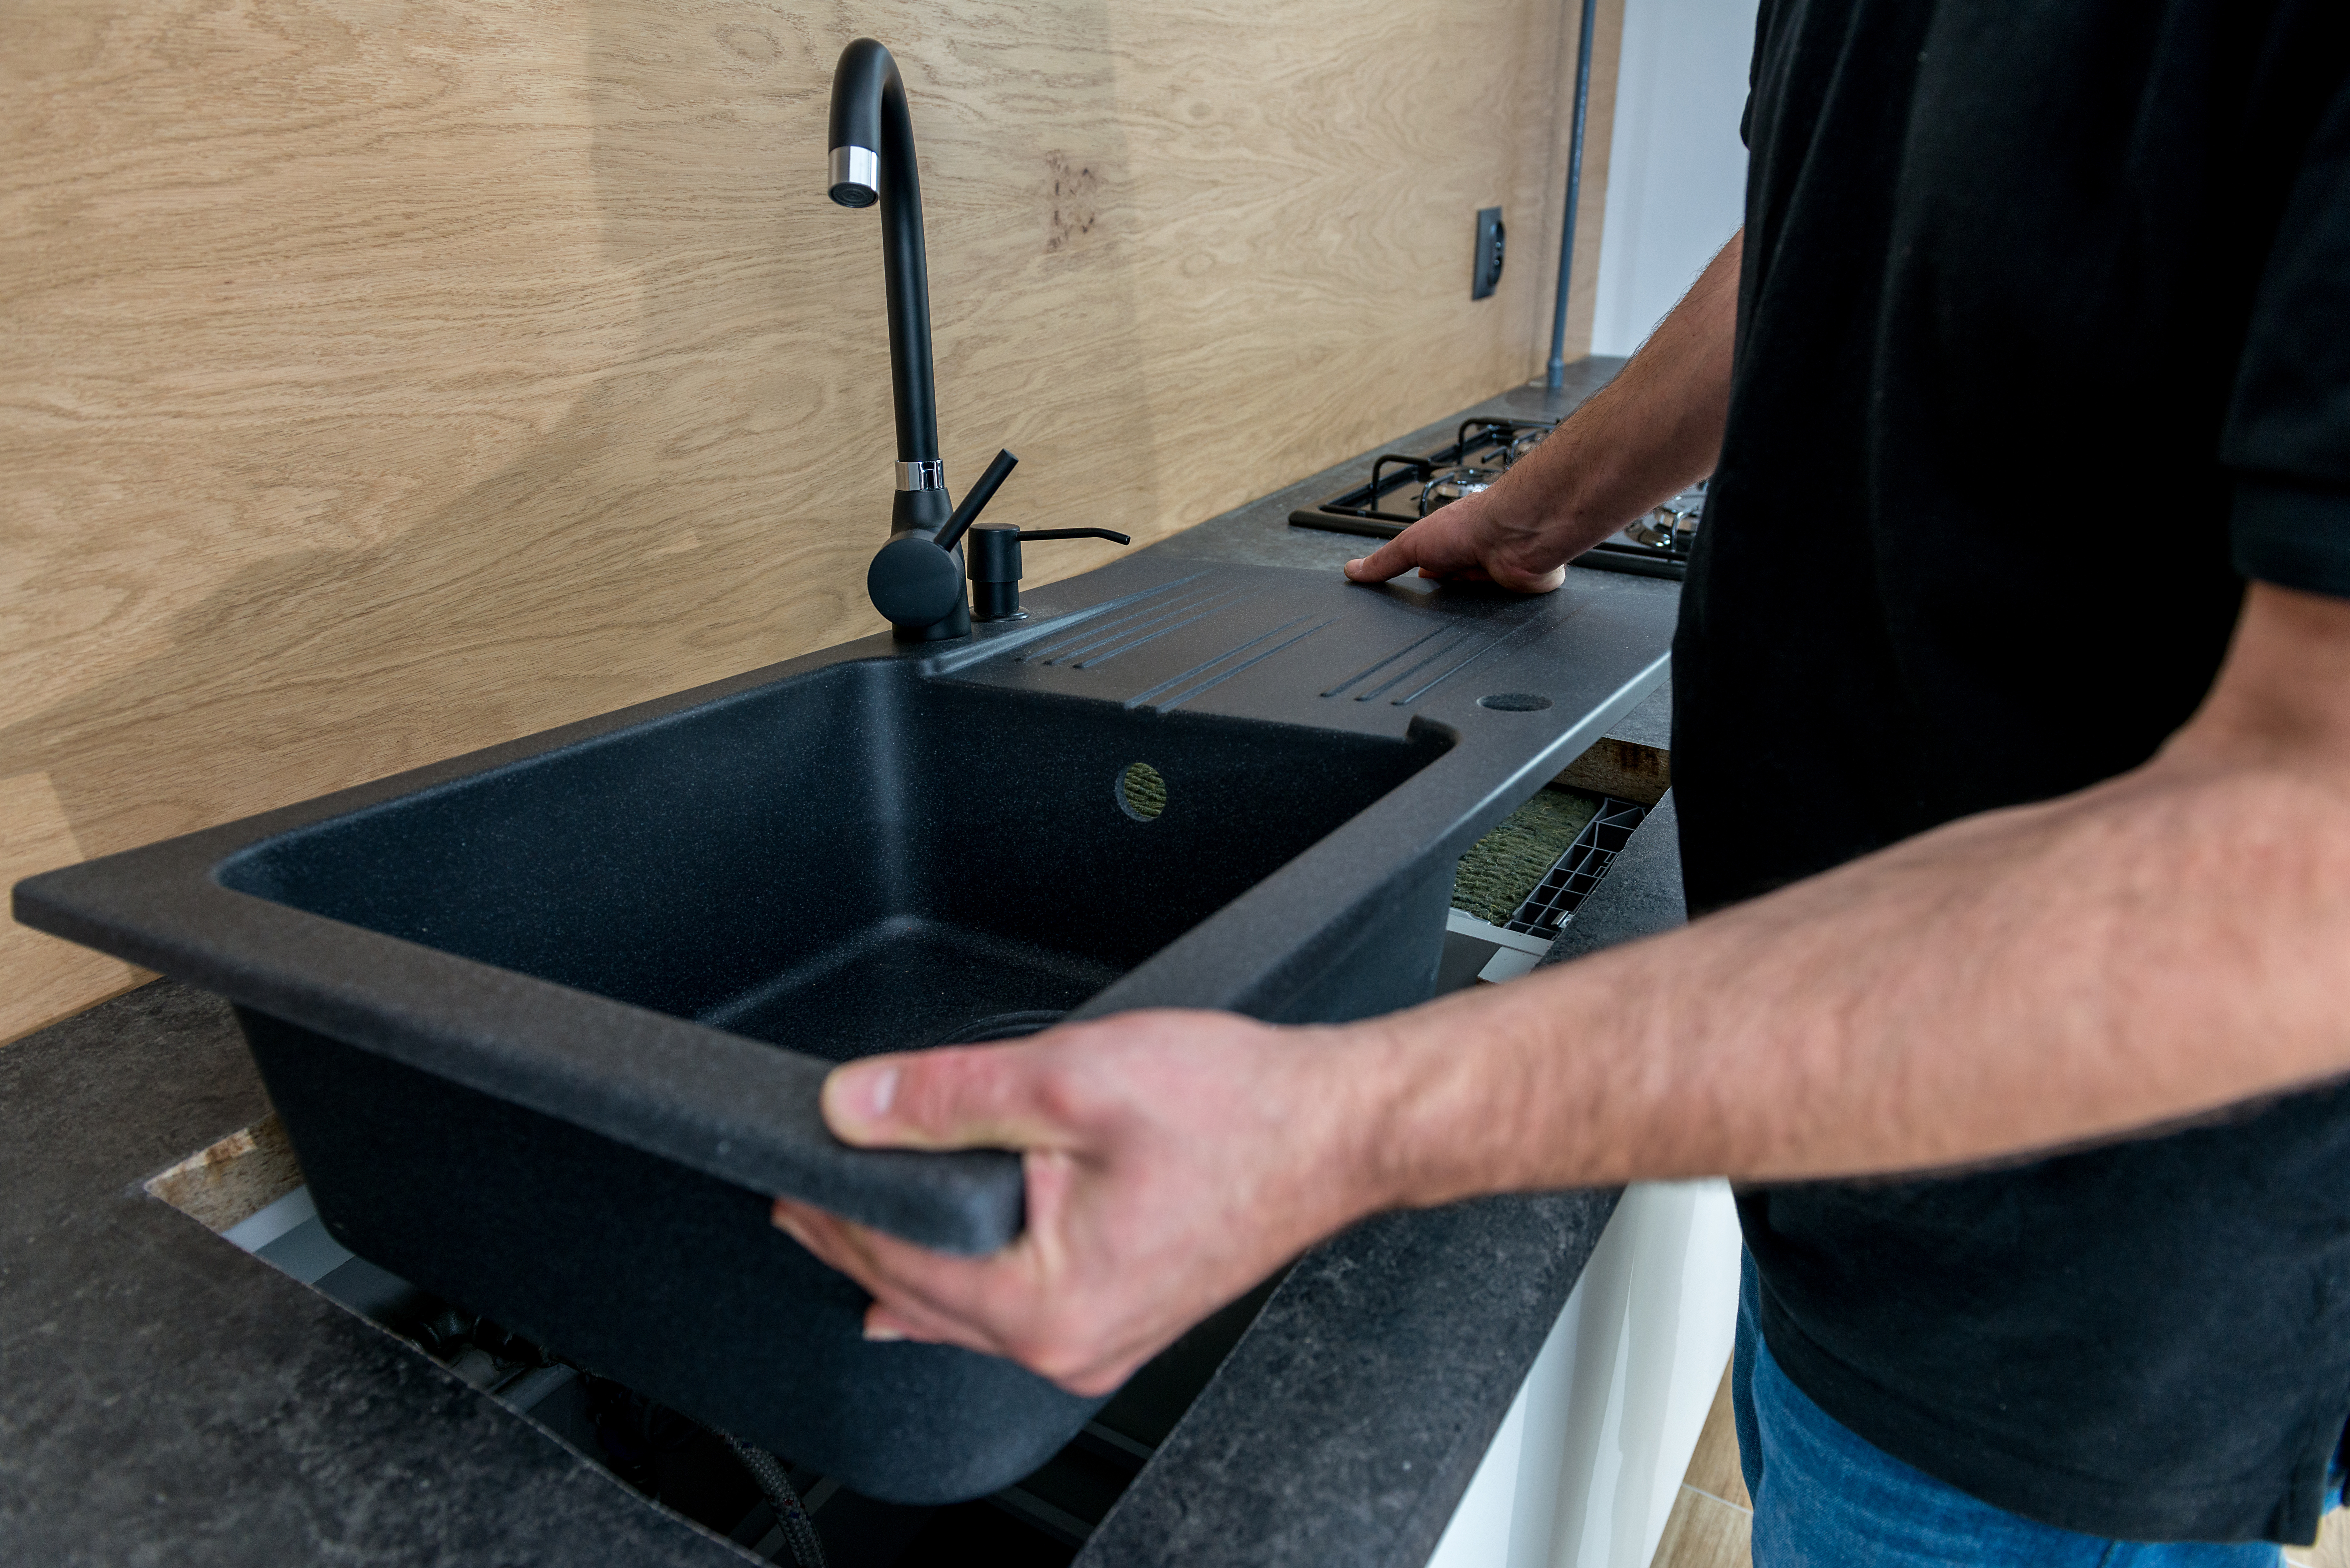
It’s not easy to install a new kitchen sink. But a DIY kind of homeowner with average skills and the right tools can complete the replacement process in a couple of hours.
Words of Wisdom
A shiny new sink, along with a new faucet and accessories will give a whole new look to a kitchen. Just as much as new backsplash and appliances, but for considerably less money. Depending on the size and type of sink, the replacement could cost $100-$500. As for difficulty, understanding the layout of the sink is the most crucial part, but the plumbing is rather straightforward.
Tools and Materials
- Tools
- Flashlight
- Screwdriver
- Wrench
- Caulk gun
- Putty knife
- Materials
- New sink
- Silicone sealant
- Plumbers putty
Step by Step
- You can’t start a DIY without the proper supplies. Start by buying the new sink that will fit the existing opening in addition to the rest of the necessary supplies.
- Now it’s time to remove the old sink! Start by locating the clips that secure the sink to the countertop–using a screwdriver removed them. At the same time disconnect the water supply and drain plumbing.
- Next, run a putty knife around the perimeter of the sink to loosen the old sealant. After, push up on the bottom of the old sink to remove it.
- Now that the old sink is removed, take the new one and set it in the hole to ensure it fits.
- After confirming that the new sink fits, install the faucet according to the manufacturer’s directions. At this stage it’s a lot easier to install the faucet as the mounting nuts are easily accessible.
- Additionally, install the accessories including a sprayer and soap dispenser mounts if included. When installing these it is recommended to apply a ribbon of plumber’s putty to the bases.
- With the sink upside down, it’s time to install the strainer. Start by putting a thick roll of plumber’s putty under the strainer’s lip and push it up through the drain hole.
- Next, slip the gasket, washer, and housing onto the strainer and against the underside of the sink. Thread the locknut into the strainer by hand, then tighten with a wrench. From there, fit the gasket onto the sink drain tailpiece and attach it to the strainer with a slip nut.
- With the sink remaining upside down, squeeze a bead of silicone caulk around the underside of the sink’s lip. Turn it upright and set it into the hole in the countertop. Check that the sink is parallel with the front edge of the countertop, if not adjust as necessary.
- From below the sink, rotate the metal attachment clips outward and tighten the screws to secure the sink in place.
- Reattach the supply lines to the water supply connections, then to the water connections of the faucet. Tighten the connections, making sure not to strip the threads or overtighten.
- Connect the sink drainpipe and reattach the P-trap.
- Apply a small amount of silicon caulk around the perimeter of the sink.
- Finally, turn on the water and run it for several minutes. During this time check for leaks at all connections.
Get Super Terry
If you bit off more than you can chew, don’t sweat it! A technician from Terry’s Plumbing can come out and take care of installations for you. Give us a call today to get an estimate for your project!
 (412) 364-9114
